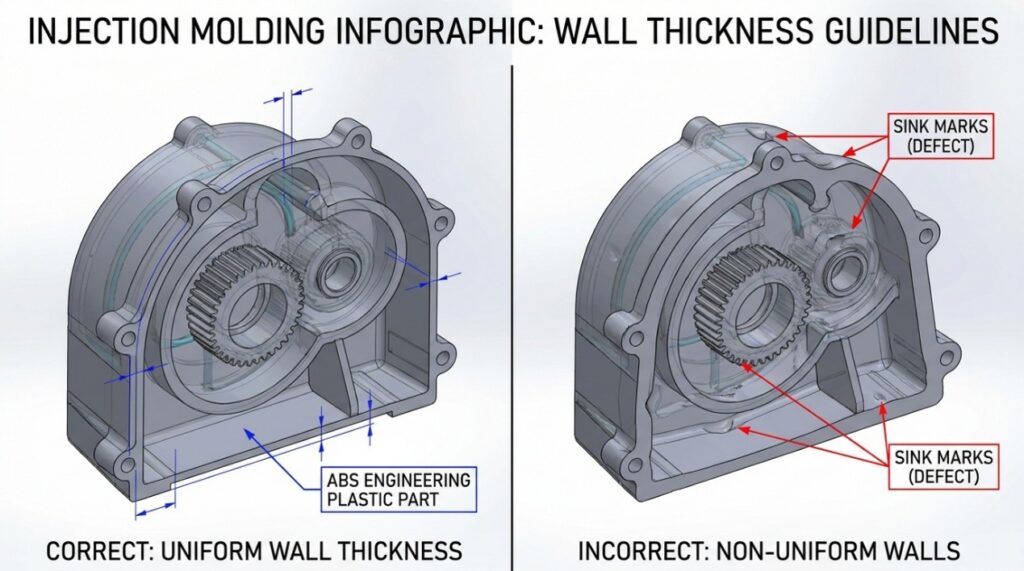
In the world of precision manufacturing, wall thickness is the silent architect of success. It dictates the structural integrity, cosmetic quality, and the ultimate cost of a plastic part. At Shanghai Kysen Industrial Co., Ltd., we analyze hundreds of DFM (Design for Manufacturing) reports weekly, and wall thickness optimization remains the #1 factor in reducing defect rates.
Here are 10 expert tips to help you master wall thickness for your next custom injection molding project.
1. The Golden Rule: Maintain Uniformity
Uniform wall thickness is the holy grail of injection molding. When walls are uneven, the plastic cools at different rates, leading to internal stress, warping, and sink marks. Always aim for a deviation of less than 25% between sections.
2. Follow Material-Specific Guidelines
Not all plastics are created equal. Different resins have different flow characteristics:
- ABS: 1.2mm – 3.5mm
- PC (Polycarbonate): 1.0mm – 3.8mm
- PA66 (Nylon): 0.8mm – 3.0mm Consulting a mold manufacturing specialist early can help you pick the right thickness for your chosen material.
3. Implement Gradual Transitions
If your design requires a thickness change, never use a sharp 90-degree step. Use a tapered transition (ramp) to maintain smooth plastic flow and reduce stress concentration points that could lead to part failure.
4. Use Ribs Instead of Increasing Thickness
If you need extra strength, don’t just thicken the wall. Thick walls increase cycle time and material cost. Instead, use ribs. A good rule of thumb is that rib thickness should be between 50% to 70% of the nominal wall thickness to avoid sink marks on the opposite surface.
5. Prioritize “Coring Out”
For heavy, blocky sections, “core out” the material. This involves removing the center of a thick area to create a hollowed-out section with uniform walls. This not only saves material but significantly reduces cooling time.
6. Optimize Radius and Fillets
Sharp corners interfere with material flow. Adding a radius to both internal and external corners (fillets) allows the molten plastic to fill the cavity more efficiently and improves the overall strength of the part.
7. Strategic Gate Placement
The gate (where plastic enters the mold) should ideally be located at the thickest section of the part. This ensures the part packs properly as it cools, preventing voids in the center of thick walls.
8. Manage Draft Angles
Wall thickness and draft angles go hand-in-hand. For walls deeper than 50mm, a draft angle of 1° to 2° is essential to ensure the part ejects cleanly without dragging or scratching the surface.
9. Account for Textures
If your part has a heavy texture (like a VDI 3400 grade), you may need slightly thicker walls to hide the “shadows” or flow lines caused by the textured surface of the mold.
10. Leverage Mold Flow Analysis (MFA)
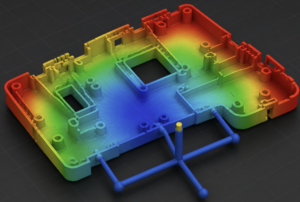
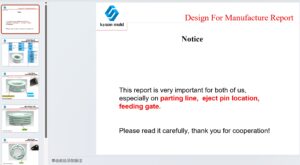
Before cutting steel, always run a Mold Flow Analysis. This digital simulation identifies air traps, weld lines, and potential sink marks caused by thickness issues. At KYSEN MOLD, we provide complimentary DFM feedback within 12 hours to catch these issues early.
Conclusion
Optimizing wall thickness isn’t just about saving cents; it’s about ensuring a repeatable, high-quality production run. Whether you are developing automotive enclosures or industrial gears, getting the thickness right at the design stage is the key to a successful launch.
Need a professional review of your design? Visit KYSEN MOLD or download our latest Engineering Guide to ensure your project is optimized for high-precision manufacturing.